How to Deploy Your Svelte Project To Netlify
In this article, you will learn How To Deploy Svelte Project To Netlify.
Creating Svelte Project
npx degit sveltejs/template svelte-app
cd svelte-app
npm i
Above commands will create a new Svelte Project and after creating you can install the dependencies using Yarn or NPM.
For this article we will create a simple Count App and will deploy it to Netlify.
App.svelte
<script>
        let count=0
</script>

<button on:click={()=>count++}>
        Increment
</button>
<button on:click={()=>count--}>
        Decrement
</button>
<button on:click={()=>count=0}>
        Reset
</button>

<h2>
        {count}
</h2>
Above we have a count variable with default value of 0. Then we create three buttons :-
- Increment : it will increase the value of count
- Decrement: it will decrease the value of count
- Reset: it will reset the value of count to 0.
Now we will run the project using command:
npm run devAbove command will start the local server.
GitHub Repository
Now we will host our code to GitHub using the following commands.
NOTE: Make sure you have installed git.
git init
git add .
git commit -m "first commit"
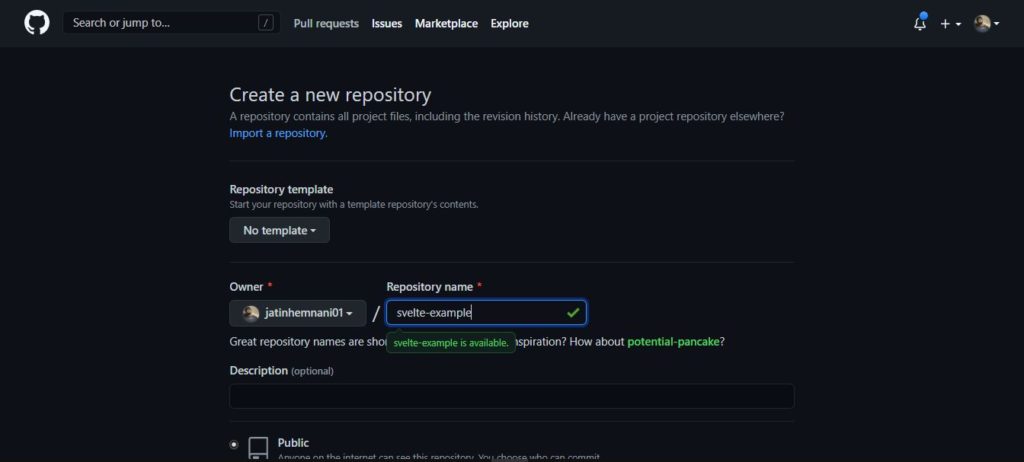
Go to GitHub and create new repo

Copy the link of the GitHub repo

After creating repository on GitHub we will now push our code on GitHub.
git remote add origin YOUR REPO URL
git push origin master
Now that you have successfully created a repo and pushed your code on GitHub, we will now deploy the project to Netlify.
Deploying On Netlify
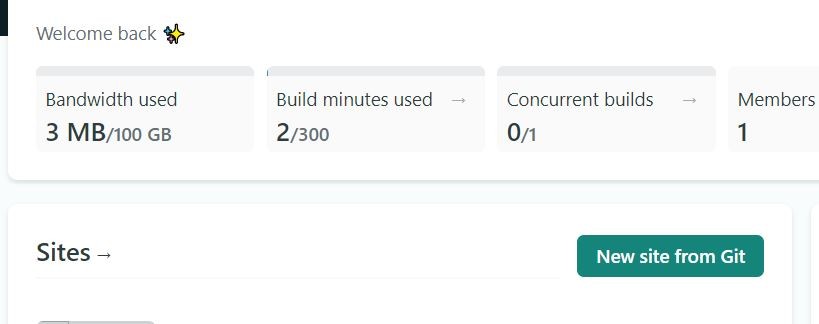
You can create Netlify account using GitHub or whatever you prefer, then we will got to New Site from Git.
Here you have to choose GitHub
Now, it will authorize you from GitHub and you can select your repository.
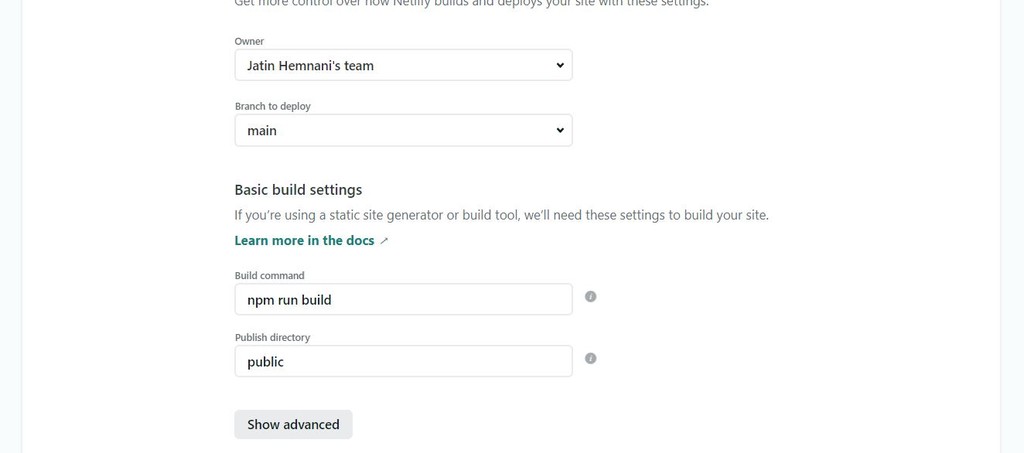
Then we will choose the build command and build directory
You have to manually write the build folder which is public and done. Now you have successfully deployed your Svelte Project To Netlify.
Conclusion
Now, this is the end of this article and you have now successfully learned How To Deploy Your Svelte Project To Netlify.
Source Code: GitHub


